8.1.1.1 Making a Schedule
A logical place to begin as you initiative a project is by making a schedule for the creation of the different audio artifacts that make up the entire system. Your project could be comprised of many different types of sounds, including live recordings (often on different tracks at different moments), existing recordings, Foley sound effects, MIDI-synthesized music or sound, or algorithmically-generated music or sound. Some sounds may need to be recorded in the presence of others that have already been created, and these interdependencies determine your scheduling. For example, if you’re going to record singers against a MIDI-sequenced backing track, the backing track will have to be created ahead of time – at least enough of the backing track so that that the singers are able to sing on pitch and in time with the music.
You also need to consider where and how the artifacts will be made. Recording sessions may need to be scheduled and musicians hired. Also, you’ll need to get the proper equipment ready for on-location or outdoor recording sessions.
To some extent you can’t plan out the entire process ahead of time. The creative process is messy and somewhat unpredictable. But the last thing you want is to run into some technical roadblock when the creative juices start flowing. So plan ahead as best you can to make sure that you have all the necessary elements in the right place at the right time as you work through the project.
8.1.1.2 Setting up for Recording
In Chapter 1, we introduced a wide variety of audio hardware and software. We’ll now give an overview of different recording situations you might encounter and the equipment appropriate for each.
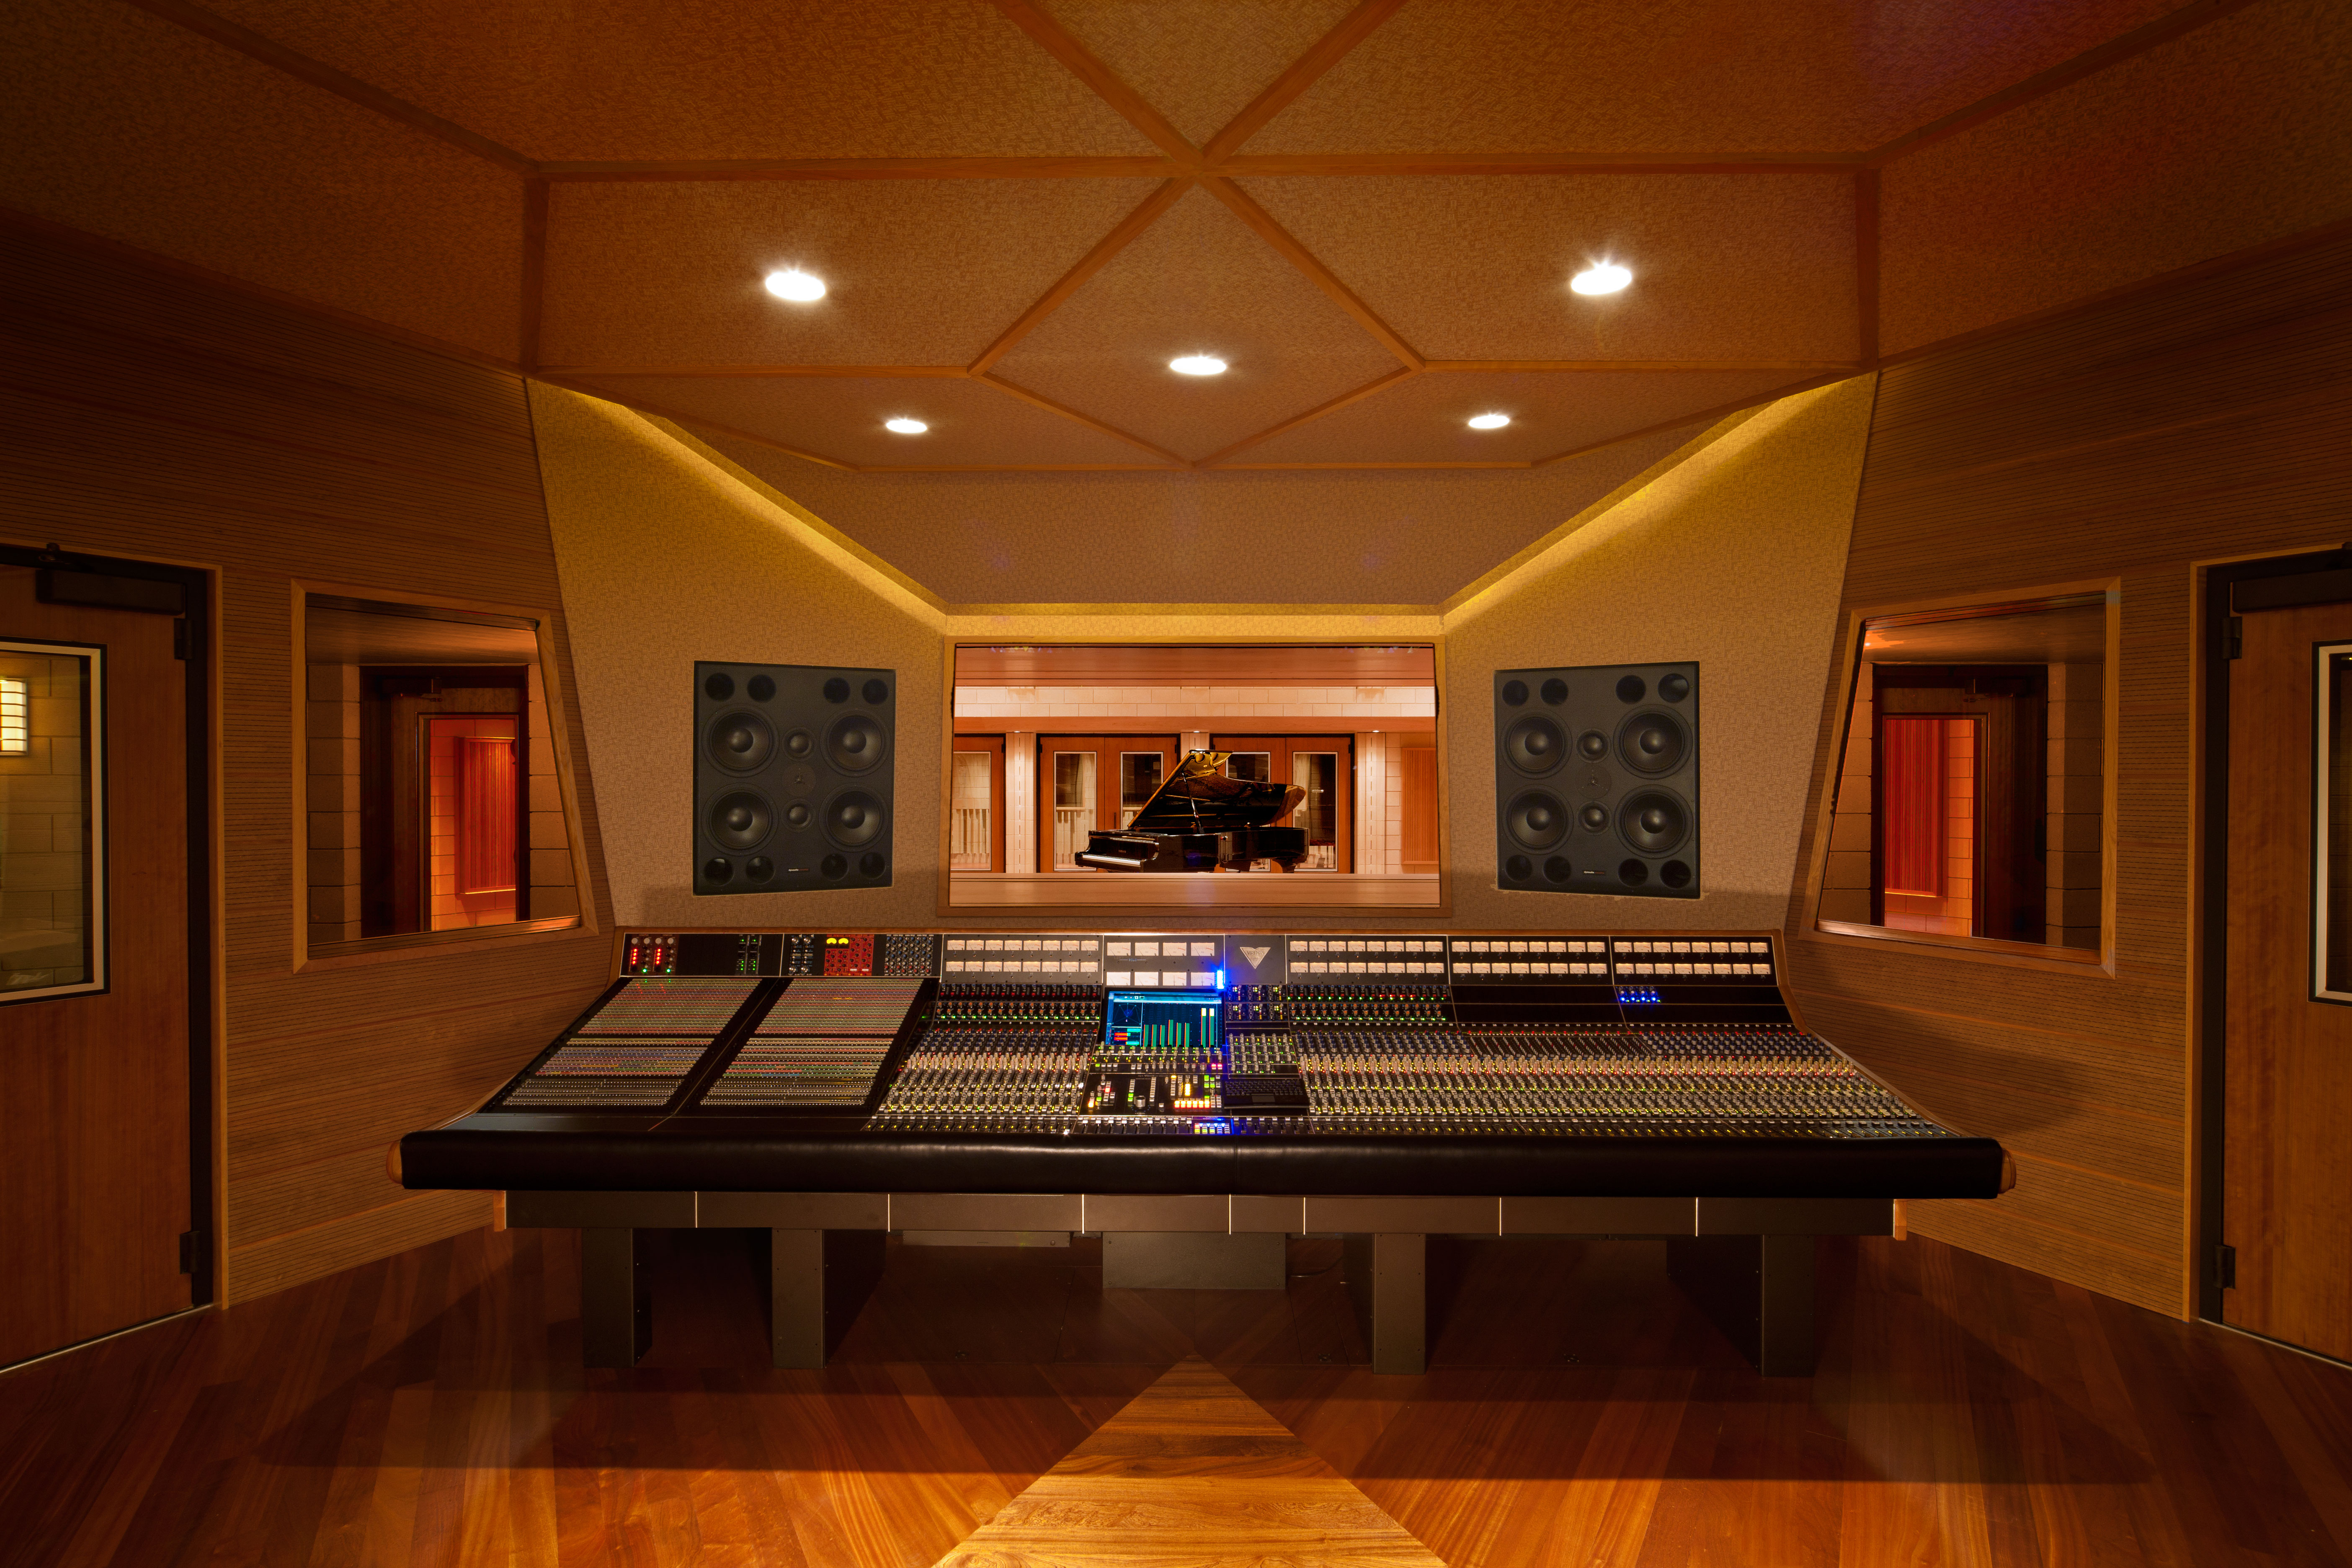
The ideal recording situation would be a professional recording studio. These studios typically have a large stage area where the performance can be recorded. Ideally, the stage has very meticulously controlled acoustics along with separate isolation booths, high-quality microphones, a control room that is isolated acoustically from the stage, and a professional recording engineer to conduct the recording. If you have enough money, you can rent time in these studios and get very good results. If you have a lot of money, you can build one yourself! Figure 8.1 shows an example of a world-class professional recording studio.
While you can get some really amazing recordings in a professional recording studio, you can still get respectable results by setting up your own recording environment using off-the-shelf tools. The first thing to do is find a place to record. This needs to be a quiet room without a lot of noise from the air handling and a fairly neutral acoustic environment. In other words, you usually don’t want to hear the room in your recordings. Examples of isolation rooms and techniques can be found in Chapter 4.
Once you have a room in which to make your recording you need a way to get some cables run into the room for your microphones as well as any headphones or other monitors required for the performer. These cables ultimately run back to wherever you are setting up your computer and recording interface. One thing to keep in mind is that, depending on how well your recording room is isolated from your control room, you may need to have a talkback microphone at your computer routed to the performer’s headphones. Some mixing consoles include a talkback microphone. A simple way to set up your own is to just connect a microphone to your audio interface and set up an extra recording track in your recording software. If that track is record-enabled, the performer will hear it along with his or her own microphone . You can also get a dedicated monitor management device that includes a talkback microphone and the ability to control and route the recording signal to all the various headphones and monitors for both you and the performer. An example of a monitor management device is shown in Figure 8.2.

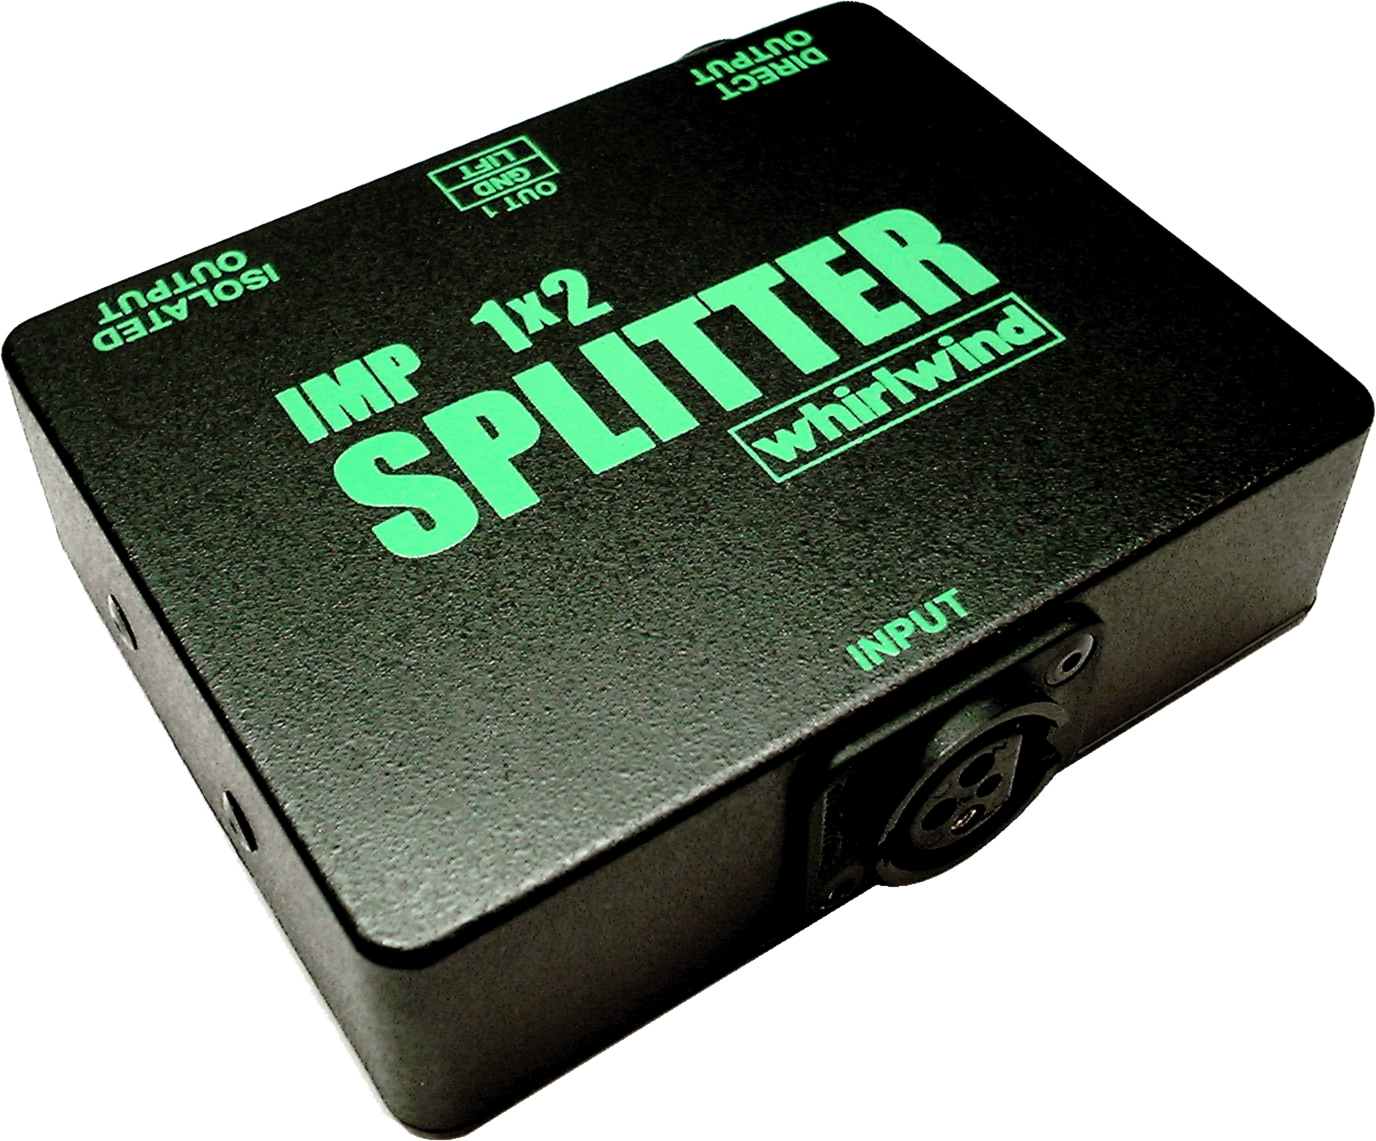
While it’s not technically a recording studio, you might find yourself in the situation where you need to record a live performance happening in a theatre, concert hall, or other live venue. The trick here is to get your recording without impacting the live performance. The simplest solution is to set up a couple area microphones on the stage somewhere and run them back to your recording equipment. If there are already microphones in place for live sound reinforcement, you can sometimes use those to get your recording. One way to do that is to work with the live sound engineer to get you a mix of all the microphones using an auxiliary output of the live mixing console. Assuming extra aux outputs are available, this is typically a simple thing to implement. Just make sure you speak with the engineer ahead of time about it. You won’t make any friends if you show up 15 minutes before the show starts and ask the engineer for a feed from the mixing console. The disadvantage to this is that you’re pretty much stuck with the mix that the live engineer gives you. Everything is already mixed. If you ask nicely you might be able to get two aux feeds with vocals on one and musical instruments on the other. This gives you a little more flexibility, but you are still limited to the mix that is happening on each aux feed. A better solution that requires more planning is to split the microphone signals to go to your recording equipment as well as the live mixing console. It is important to use a transformer-isolated splitter so it doesn’t negatively impact the live sound. These isolated splitters will essentially make your feed invisible to the live mixing console. You can get splitters with multiple channels or just single channel splitters like the one shown in Figure 8.3. With this strategy you can get a separate track for each microphone on the stage allowing you to create your own mix later when the live performance is over.
Sometimes you need to record something that is not practical to bring into a controlled environment like a recording studio. For example, if you want to record the sound of an airplane taking off, you’re going to have to go stand next to a runway at the airport with a microphone. This is called recording on-location. In these situations, the goal is to find a balance between fidelity, isolation, cost, and convenience. It’s very difficult to get all four of these things in every scenario, so compromises have to be made. The solution that offers the best isolation is not likely to be convenient and may be fairly expensive. For example, if you want to record thunder without picking up the sounds of rain, dog barks, cars, birds, and other environmental sounds, you need to find an outdoor location that is far from roads, houses, and trees but that also offers shelter from the rain for your equipment. Once you find that place, you need to predict when a thunderstorm will happen and get there in time to set up your equipment before the storm begins. Since this is not a very practical plan, you may have to make some compromises and be prepared to spend a long time recording storms in order to get a few moments where you manage to get the sound of thunder when nothing else is happening. Every recording situation is different, but if you understand the options that are available, you can be better prepared to make a good decision.
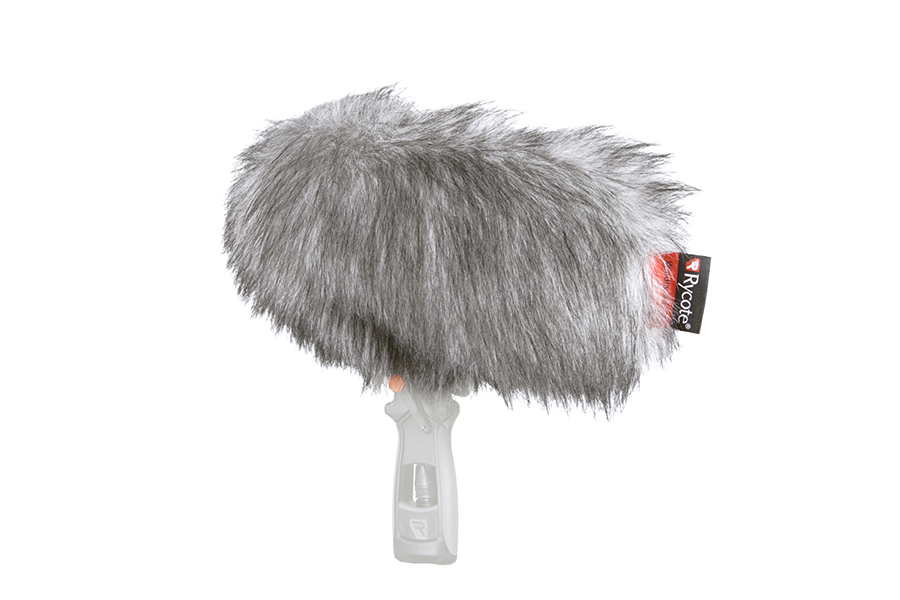
There are some unique equipment considerations you need to keep in mind when recording on-location. You may not have access to electricity so all your equipment may need to be battery-powered. We described some handheld, battery-powered recording devices in Chapter 1. Another common problem when recording on-location is wind. Wind blowing across a microphone will destroy your recording. Even a light breeze can be problematic. Most microphones come with a simple windscreen that can go over the microphone but in particularly windy conditions, a more robust windscreen may be necessary such as the one shown in Figure 8.4.